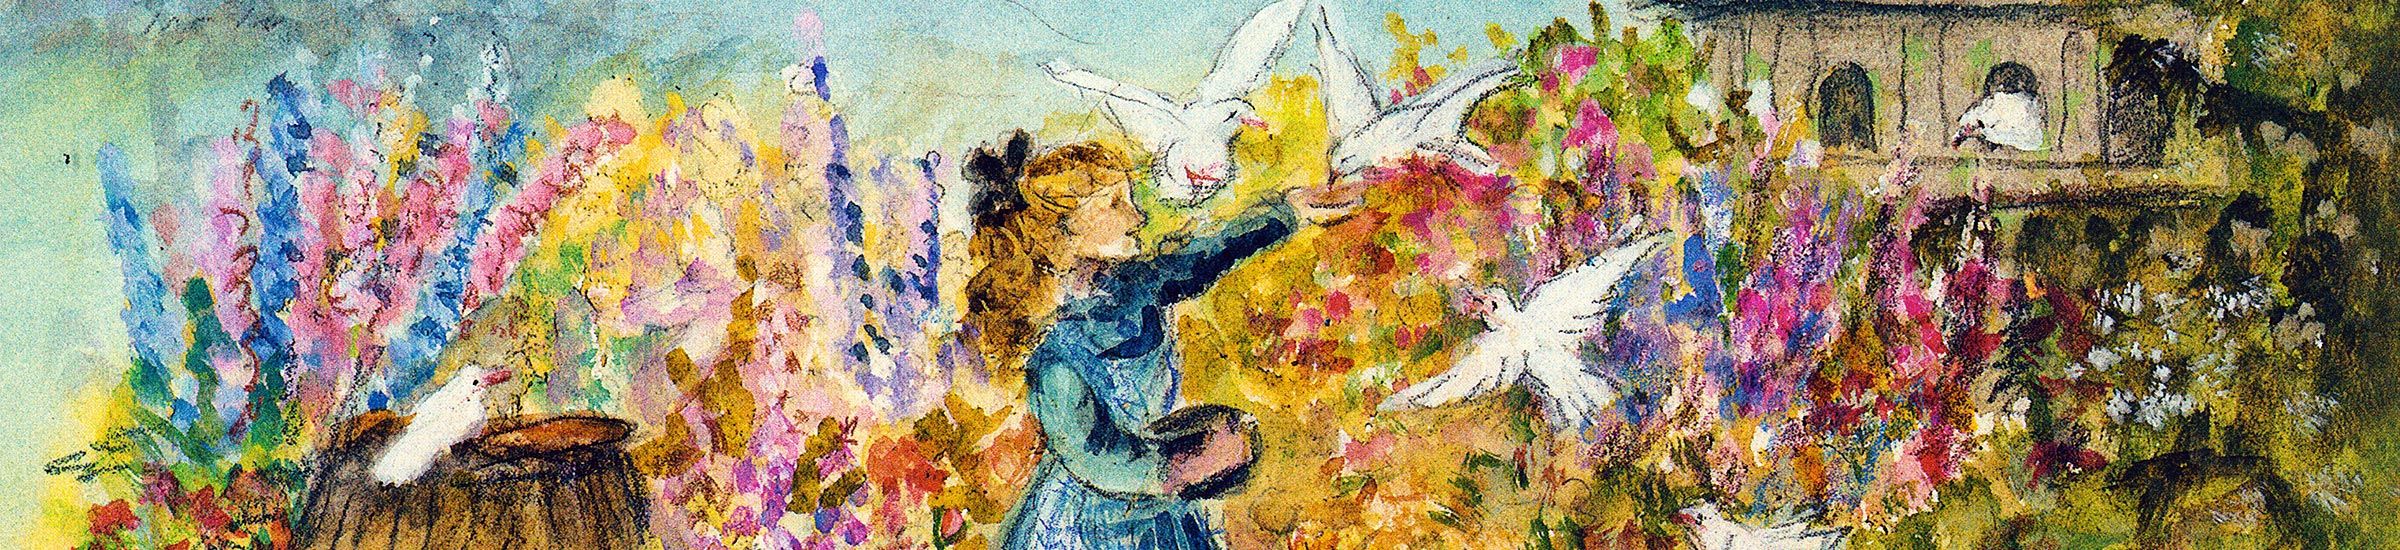
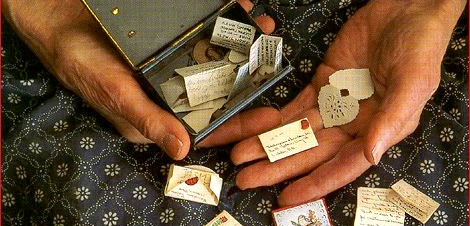
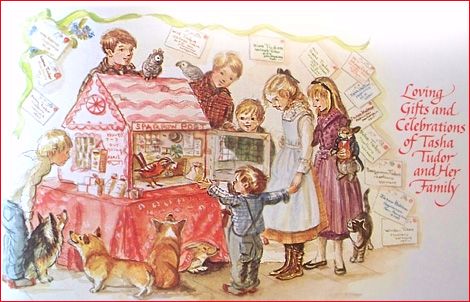
The Sparrow Post is one of the most beloved and enduring traditions in the Tudor family. Every year, especially near Christmas and Valentines Day, Tasha Tudor, her children, and (later) her grandchildren would spend hours crafting miniature letters or valentines, envelopes, and post-boxes. Once constructed, the family would hang their little post-boxes on their bedroom doors and every morning they would wake eagerly to check to see if any mail had arrived in the night. Sometimes they would use the Sparrow Post to write to each other and sometimes the letters were addressed to or from their famous dolls such as Thaddeus Crane and Melissa Shakespeare who were considered part of the family.
Tasha Tudor wrote about the ins and outs of the Sparrow Post in the book All for Love saying:
"The Postmaster is Augustus Sparrow. He has served through three generations and is still none the worse for wear. Mr. Sparrow is a cut-wool toy sparrow, made by hand, like many of our favorite characters. He sports a red vest and spectacles. He is very efficient and has coped successfully with many problems during his lifetime, such as lost mail, delayed deliveries, strikes, migration tangles and other trying situations. "
Today, we are going to walk you through the basic steps of constructing a Sparrow Post Box modeled after the ones you would have found hanging in Tasha's home on each child's bedroom door in the 1950s. While this is a child-friendly craft, adult supervision (and participation) is strongly encouraged!
Materials:
- Last year's Wall Art Calendar or other images on stiff paper
- Ruler (to help cut straight edges)
- Glue Stick and/or White Glue
- 2 ft of Decorative Ribbon, cut in half
- Scissors
- Exacto Knife
- Bone folder (optional)
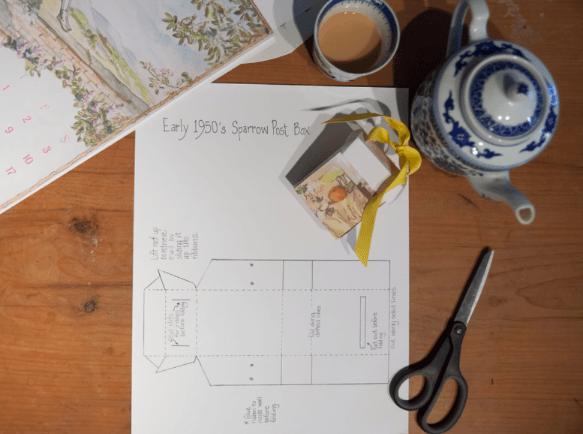
1) The first thing you'll need to do is carefully tear out your craft page from the calendar.
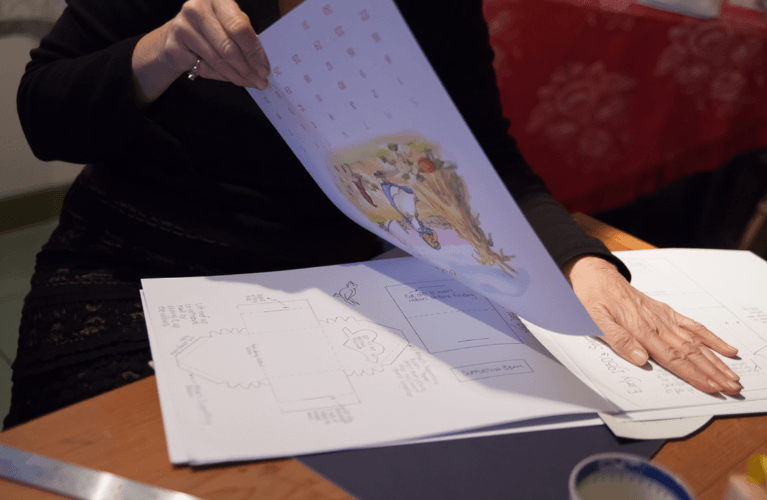
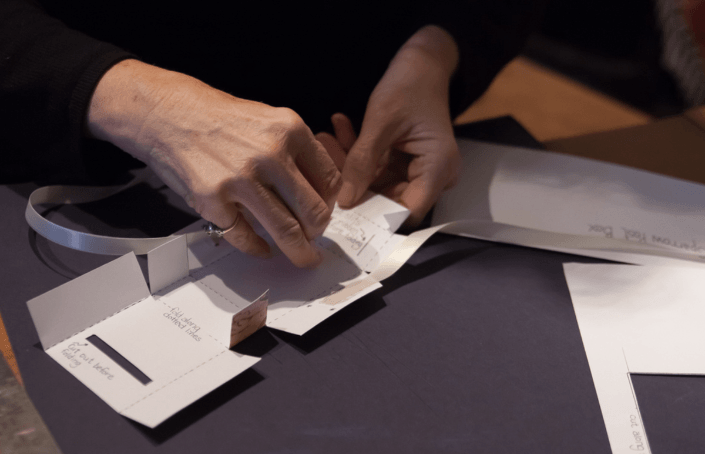
2) Next, print the free templates in the DIY section of our website. Cut out your preferred template and use it as a pattern. For the smaller cuts like the mail hole and the slits for ribbons, we suggest using your Exacto knife. The more precise your cutting, the easier the postbox will be to assemble.
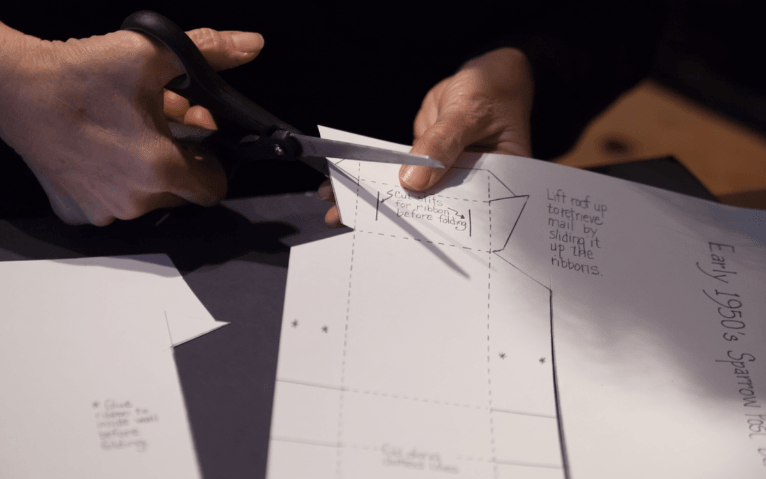

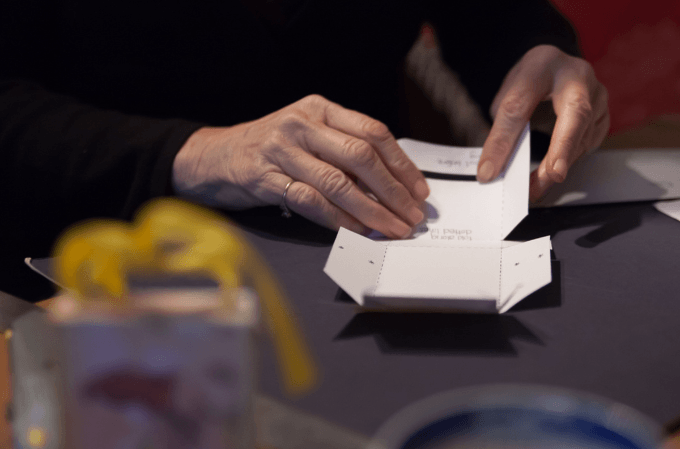
3) Once the postbox is cut out you will next fold across the dotted lines. For a really precise-looking finished product it is important to press each fold well. We recommend using a pencil as a pressing tool, laying the pencil flat against the fold and pressing firmly all along the edge.

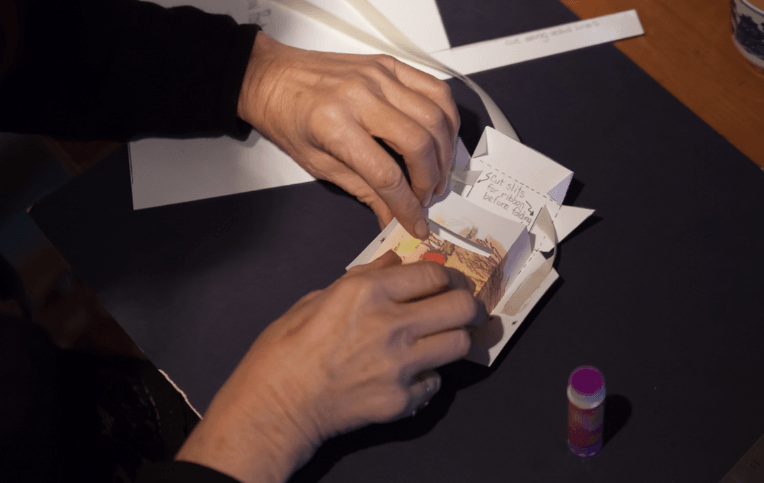
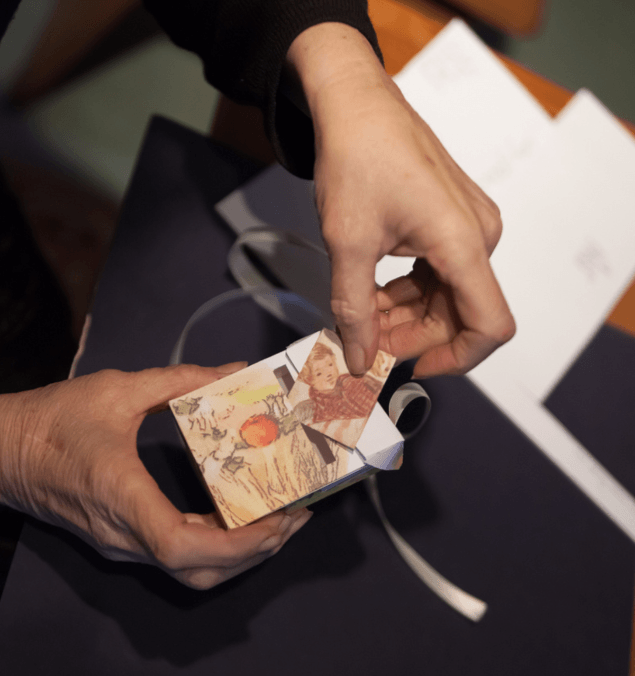
4) Next, using the little stars as your guide, glue the ribbons in place. We used a glue stick for this part of the project but suggest using a small dot of white glue for each ribbon and taking a tea break to let the glue dry all the way if you want the ribbon to adhere really securely.
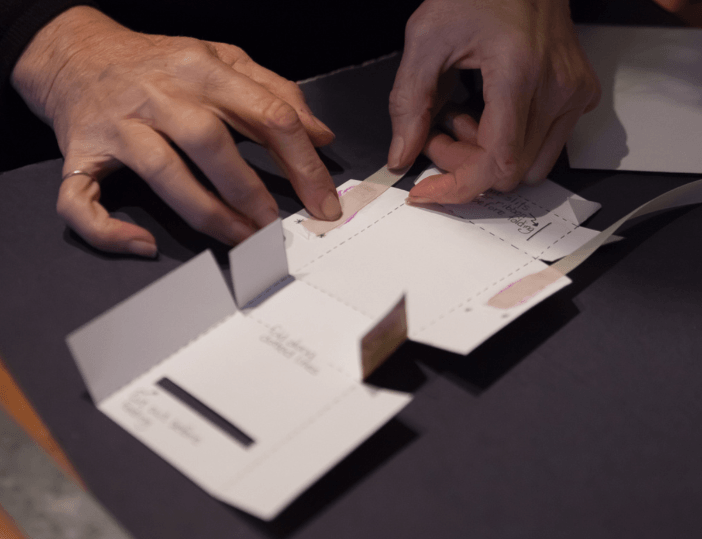
5) Once the glue has dried completely, weave the ribbon in through the slits on the bottom side of the little lid.
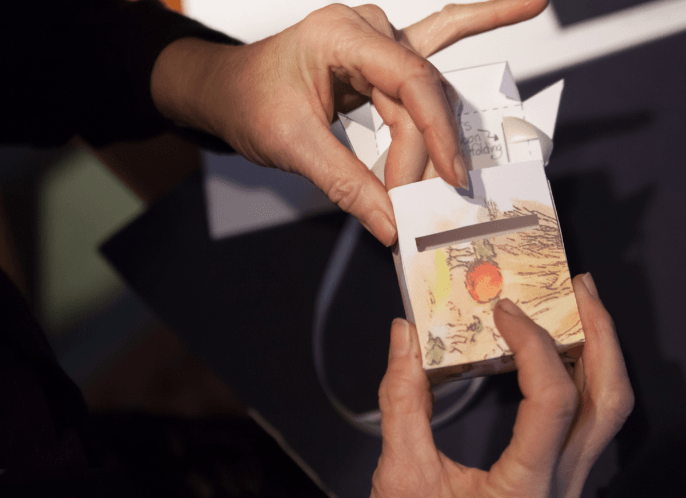
6) Now you can begin the final assembling! Following the folds you have already made, fold the paper into a rectangular box.
7) Glue each corresponding side together. Again, both a glue stick or several very small dots of white glue will work but if you choose to use white glue allow it to dry fully before fiddling with it!
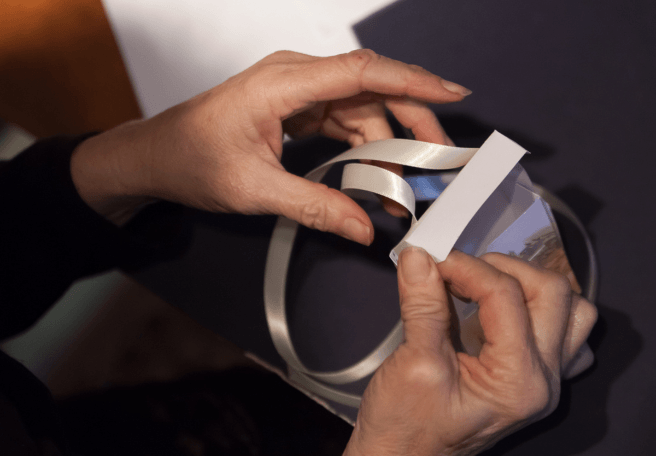
8) The final step is to tie the bow on top so the postbox can be hung from a doorknob (or Christmas tree!)
Looking for more Tasha Tudor-inspired crafts? Visit the DIY Crafts section of our website for cross stitch kits, quilt patterns, and booklets on everything from building chicken coops to making homemade ice cream and weaving country-style baskets!
We want to see your craft projects! If you make a Tasha Tudor-inspired craft be sure to tag us on instagram at @tashatudorandfamily and use the hashtag #tashatudorcrafts